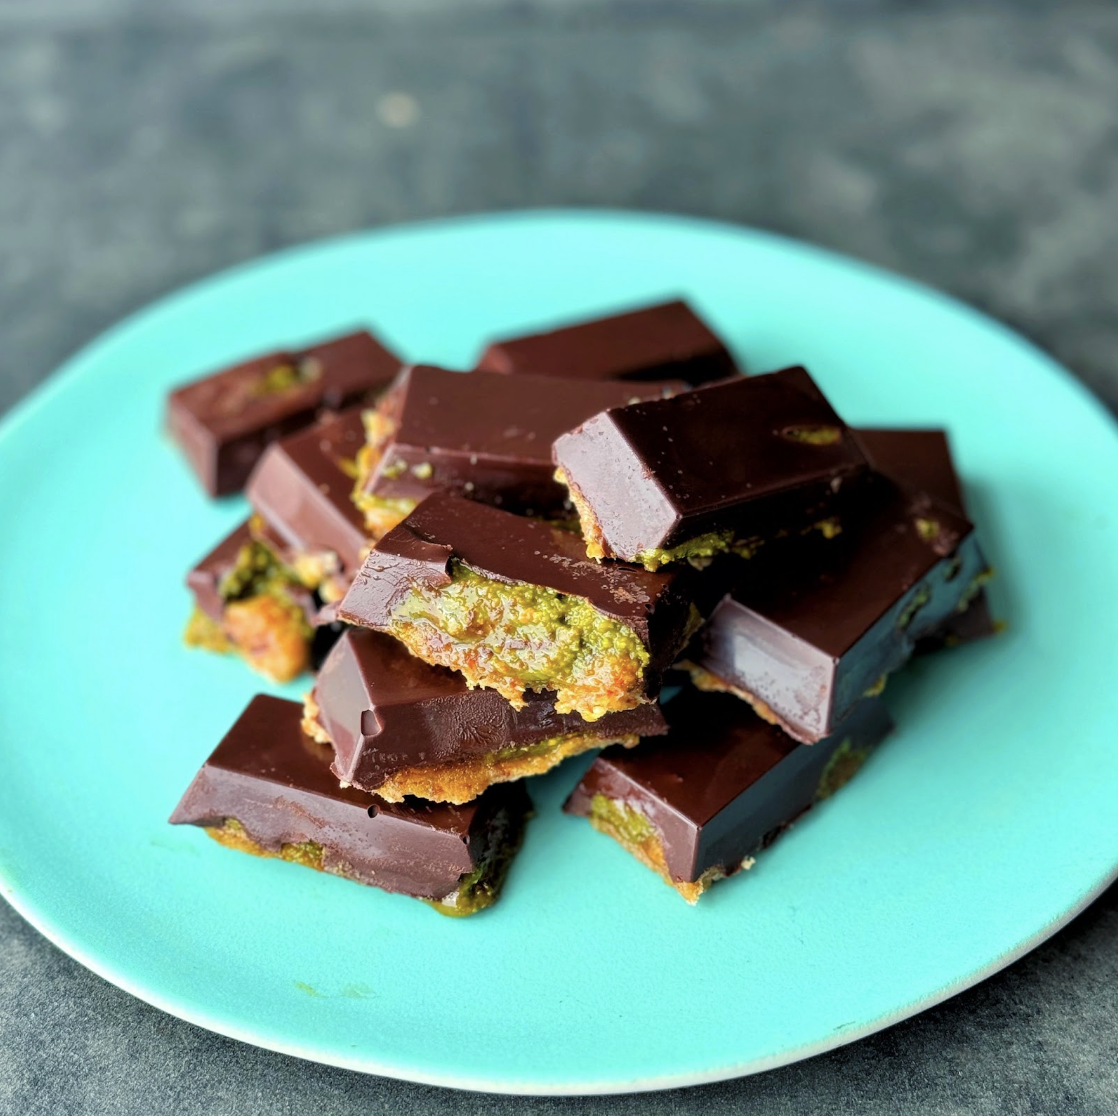
Triple Layer Chocolate Pistachio Bites
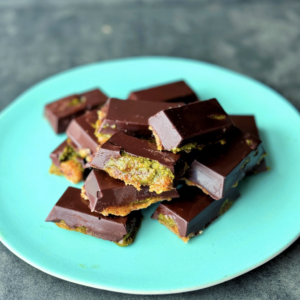
We always see pistachios as such a fancy nut! Here we make a pistachio cream which we sweeten and enrich to make it easier to blend till a silky smooth paste. Normally we don't really like matcha that much but it goes beautifully with pistachio and really strengthens the vibrant great colour without any artificial colourings! The chewing date & almond base pairs so well with the creamy pistachio and crunchy of the chocolate layer. We made ours in an ice cube tray for mini bites but you could also use a larger baking tray and cut them into squares. Serving size is for 2 small bites per person.
Takes 30 minutes
Serves 12
Ingredients
Chocolate Layer
- 200 g Dark chocolate 1¼ cups chopped or chips
Pistachio Cream Layer
- 150 g shelled pistachio nuts 1 cup
- 1 tbsp matcha powder
- 2 tbsp coconut oil
- 3 tbsp maple syrup
- 1 tsp vanilla extract
Date Marzipan Layer
- 100 g almonds ¾ cup
- 150 g pitted dates ¾ cup packed
- 2 tbsp coconut oil
- Pinch salt
Instructions
Melt Chocolate, layer into mould and freeze
- Chop the chocolate into small pieces and melt using a bain marie or microwave.
- Divide between all the squares in the mould. You want to fill each square approx ⅓ full with chocolate and use a small spoon to brush the chocolate up the sides a little so they form little cups.
- Put the chocolate filled moulds into the freezer so the chocolate hardens for 15 mins.
Make pistachio layer and layer on
- Add the shelled pistachio nuts to a food processor along with the coconut oil, maple syrup and vanilla extract and blend till it forms a silky smooth pistachio butter. This will take a few mins and if your food processor is heating up give it a little break.
- Once the chocolate is set, remove from the freezer and spoon a small amount of the pistachio butter onto each square. Again it should fill approx ⅓ of each cup, so now with the chocolate and pistachio butter the cups in the mould should be ⅔ full.
Blend nuts and dates
- Clean the food processor bowl and blend the almonds until they reach a bread crumb like consistency. Add the pitted dates and coconut oil and pinch of salt and blend until they come together into a smooth unified ball. This should take 2-3 mins.
Fill and cool to set
- Carefully divide this mixture between each of the squares, filling each one.
- Put in the fridge to set for 20 mins before removing each square and enjoying!
Notes
If you don’t have a silicone mould, you can use a regular baking tray and cut them into squares.
